

To be honest, I don’t have light colored tattered jeans, that one that I wore from my old post was my black raw ripped from Zara and if you check my Instagram you will notice that I didn’t sport this look. Last weekend I got bored and started checking out some of my old pair of jeans to dispose of. Suddenly a light bulb appeared above my head. I got this brilliant idea, I will mix patch and tattered together.
We can see ripped jean gracing the streets since last year, from raw denim to black denim. Each brand has their own unique approach to this trend, some are lightly tattered and some are drastically ruined.
Check picture below on how I created this item.
1.Select your denim
The first step, obviously, is picking out which pair of jeans you want to rip. Tight and skinny? Black, white, or blue? High waisted or mid-rise?If you want your jeans to look extra-worn, wash them a few times with hot water and a little bleach (Try using Zonrox) before you get started. If not, read on!

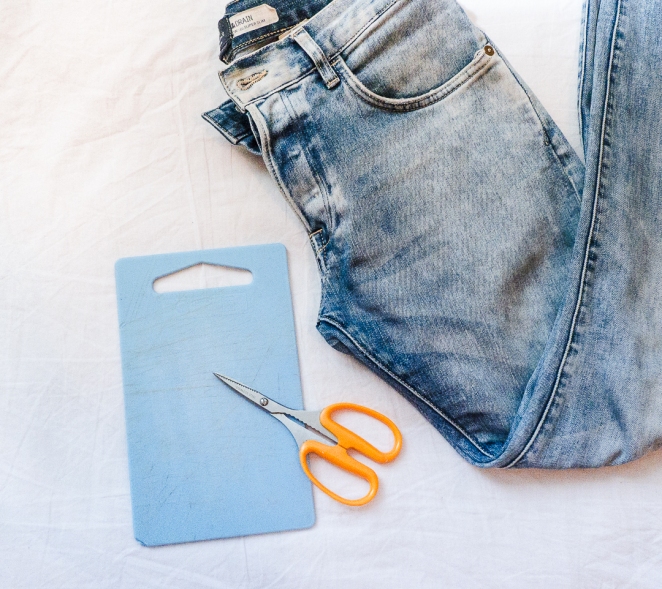
2. Supplies, Supplies, Supplies!!!
Always pay attention to the materials and tools you’re going to use on your denim.
To do this, you’ll want to grab some sandpaper or a paint-removing block, steel wool, and a pumice stone. for the holes, use a pair of super sharp small scissors or a box-cutter. I used chopping board and place it inside the pant legs so that I don’t alter the back of the jean or you can also use a small wooden block – unless you want to.
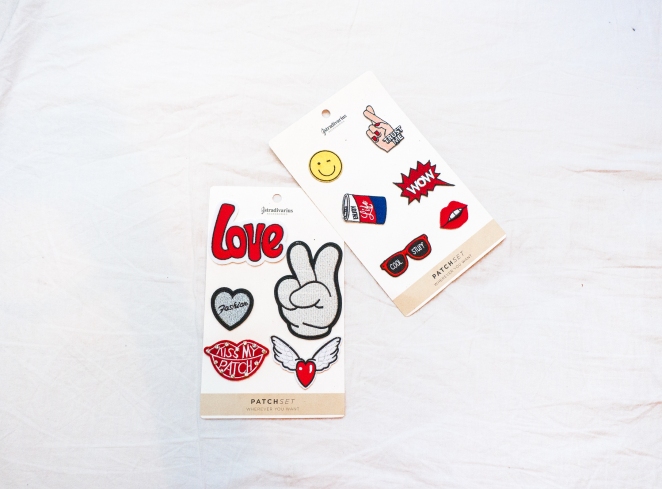
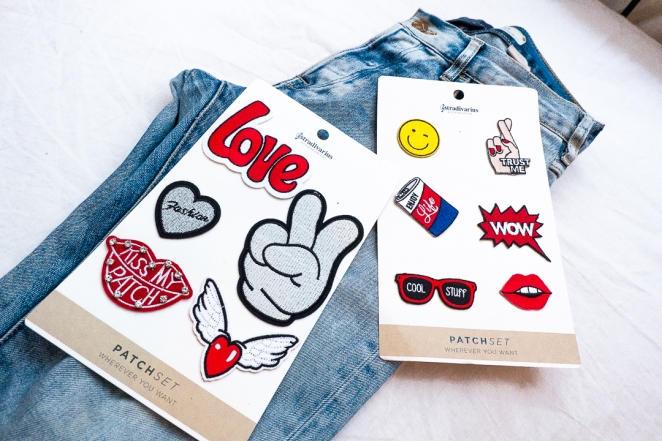
For this project, I got the patches from Stradivarius for 35 Aed per pack, a pair of scissors, chopping board, iron, iron board and old jeans from Bershka.
3. Ready, Get Set, Mark it
Use a pen, chalk or a safety pin to denote exactly where you want your rips or distressed areas. You might want to grab a ruler, too. What I did is I pinch the area I want to cut. The key is to do this while standing, the pressure from your upper body helps you cut through the threads.
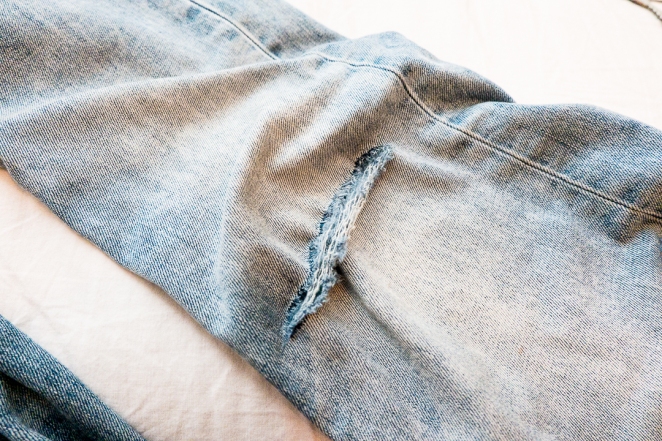
4. Start distressing
Lay flat your jeans on a flat surface just like making love at it while rubbing it with your scissors (cutter or sandpaper). Be noted that it takes a time to distress, it depends on the thickness of your pants.

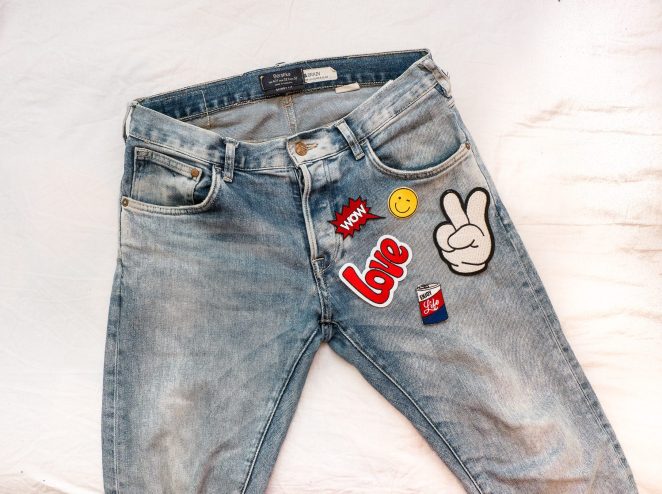
5. Put the patch on
Try to be playful or creative when placing your patches because once you start ironing you will not be able to remove it. In my case, I want to highlight the left side and pocket of my jeans on the other side that is already tattered.
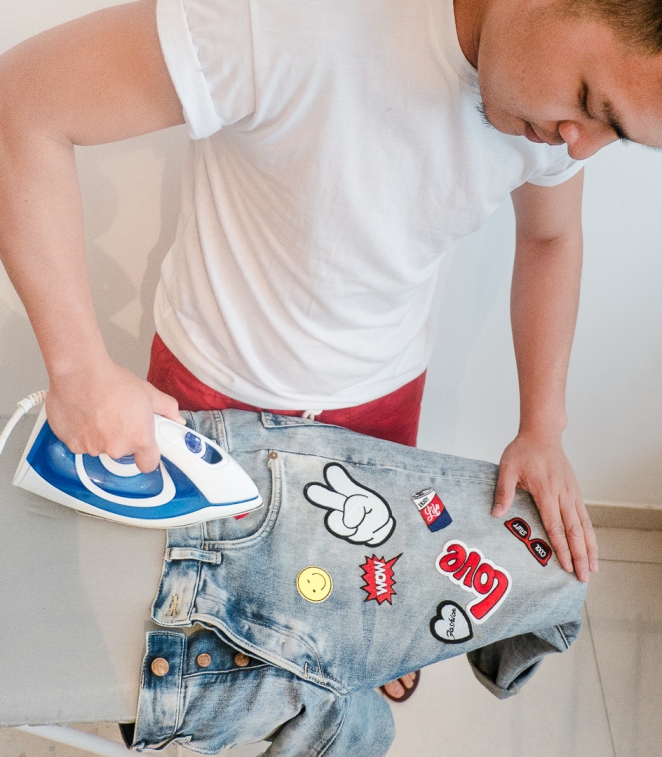
Apply heat on top of the patches for 20 seconds and do the same thing inside and outside. This will keep the patches sticks to you denim.
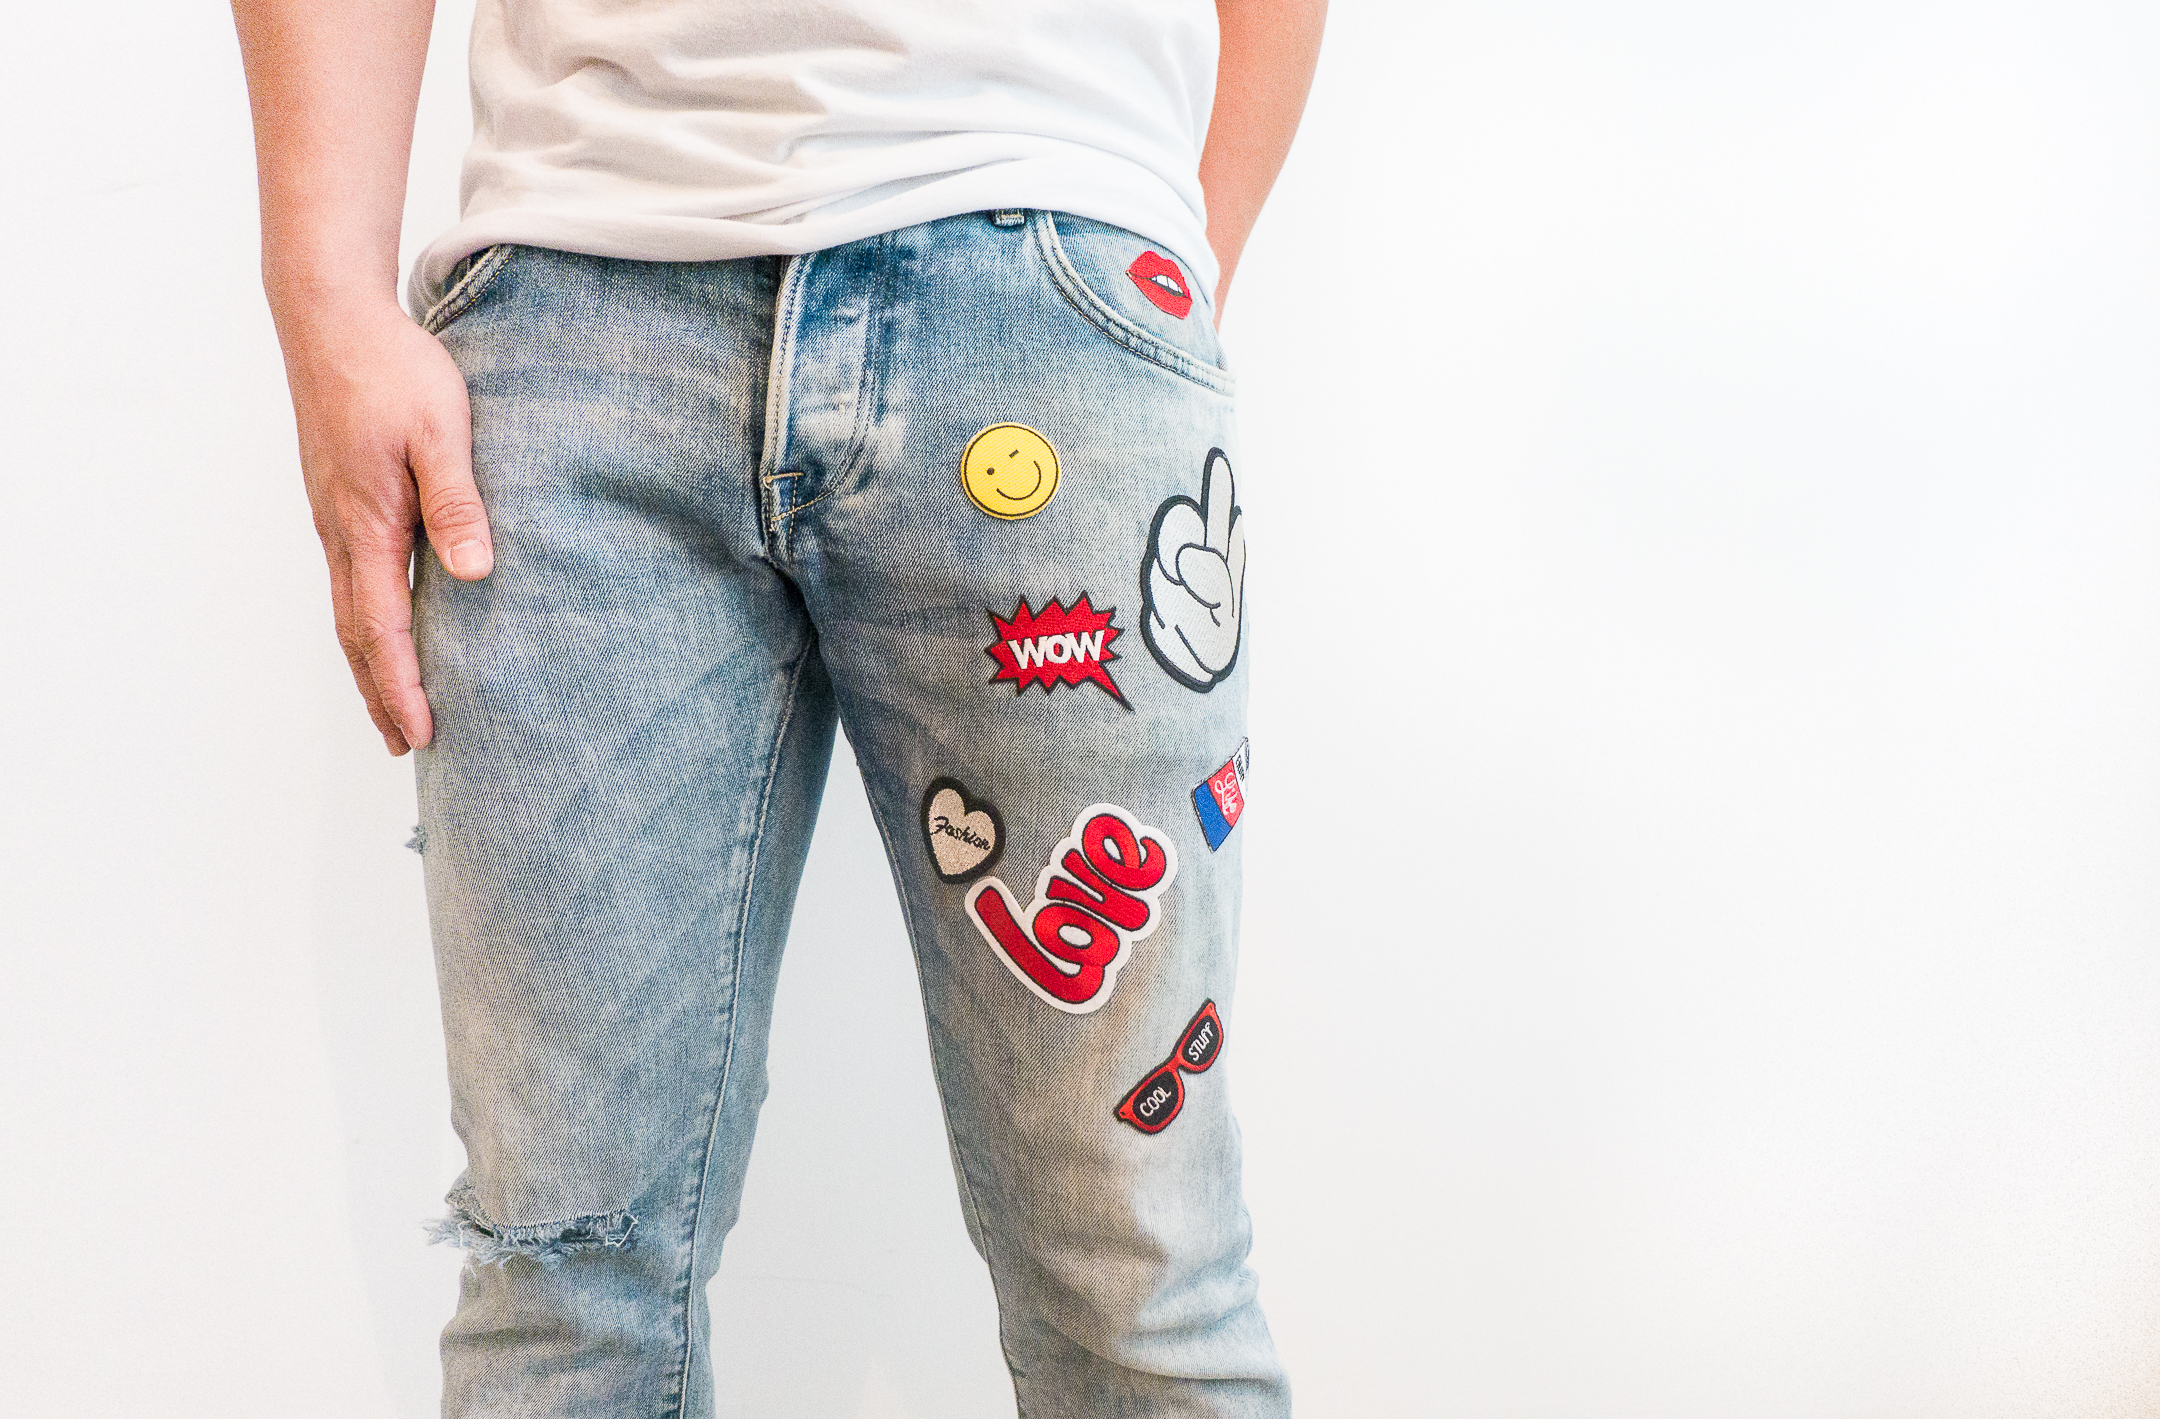
Final Look!
And here is the final output of my hard labor.
Yes, this is a fun project. Aside from unleashing creativity, I was able to save rather than buying a new pair of jeans. Always remember fashion is evolving and also the trends are repeating from time to time. It’s great to invest in things but it is also great in saving. 🙂


Photos by: Abbey Ramos / @abs4abbey
